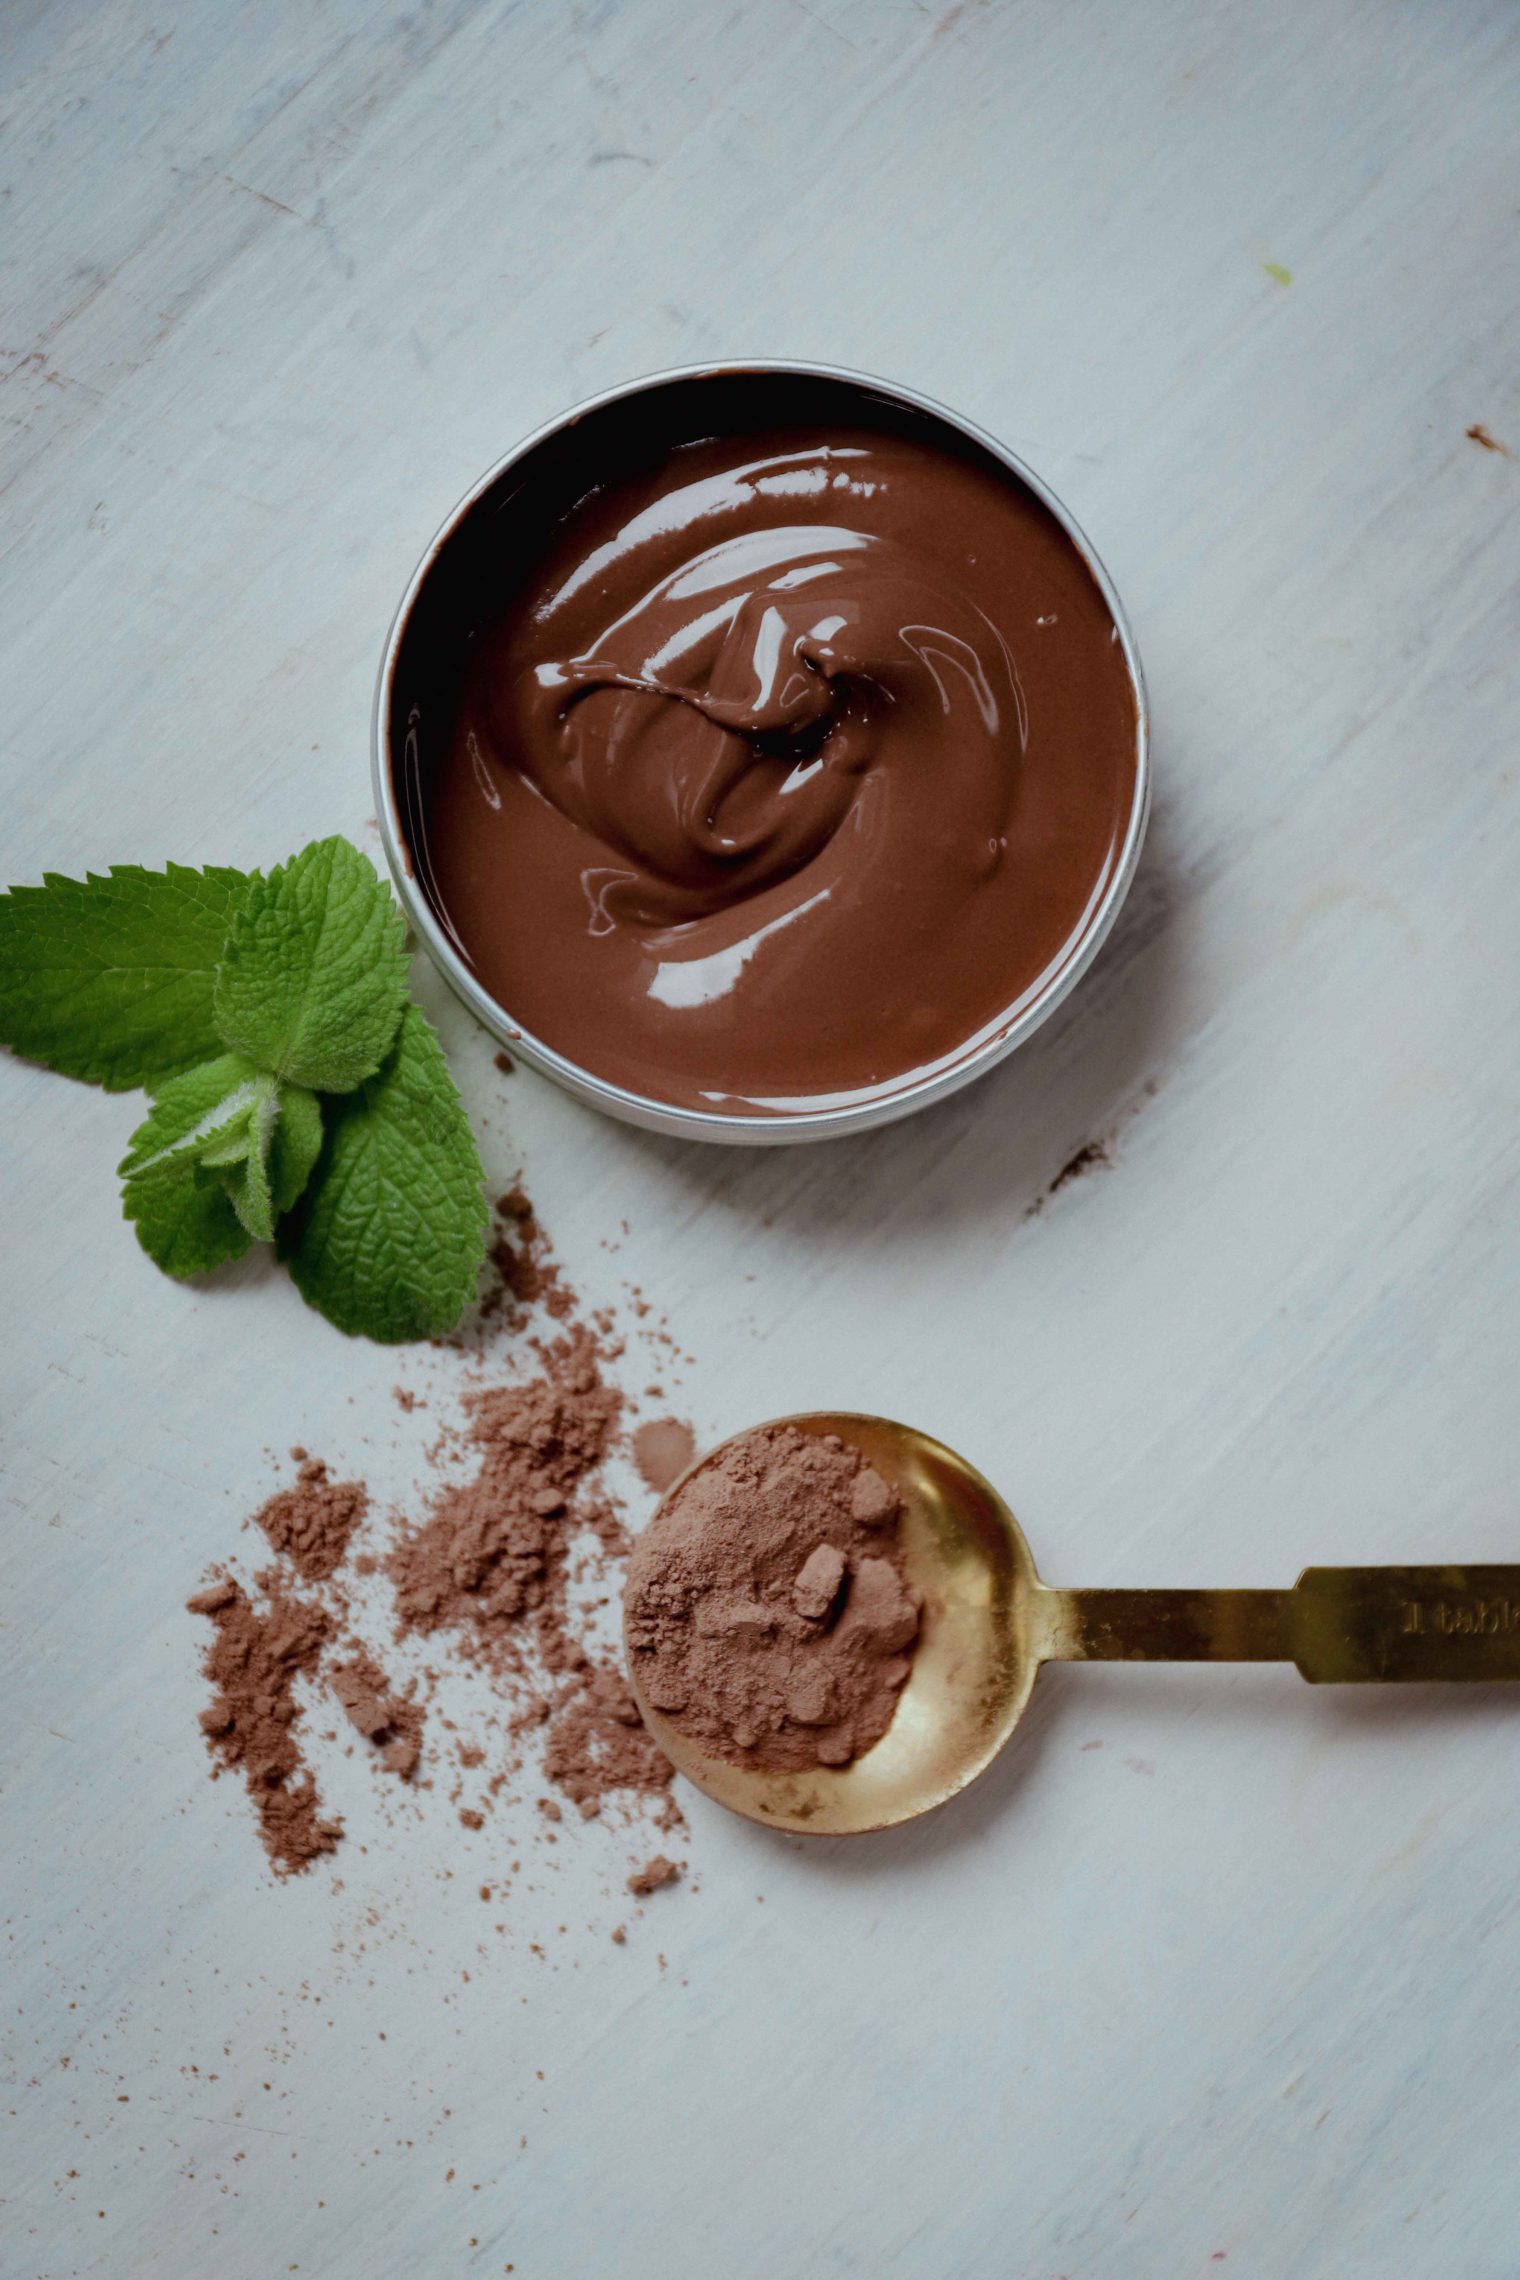
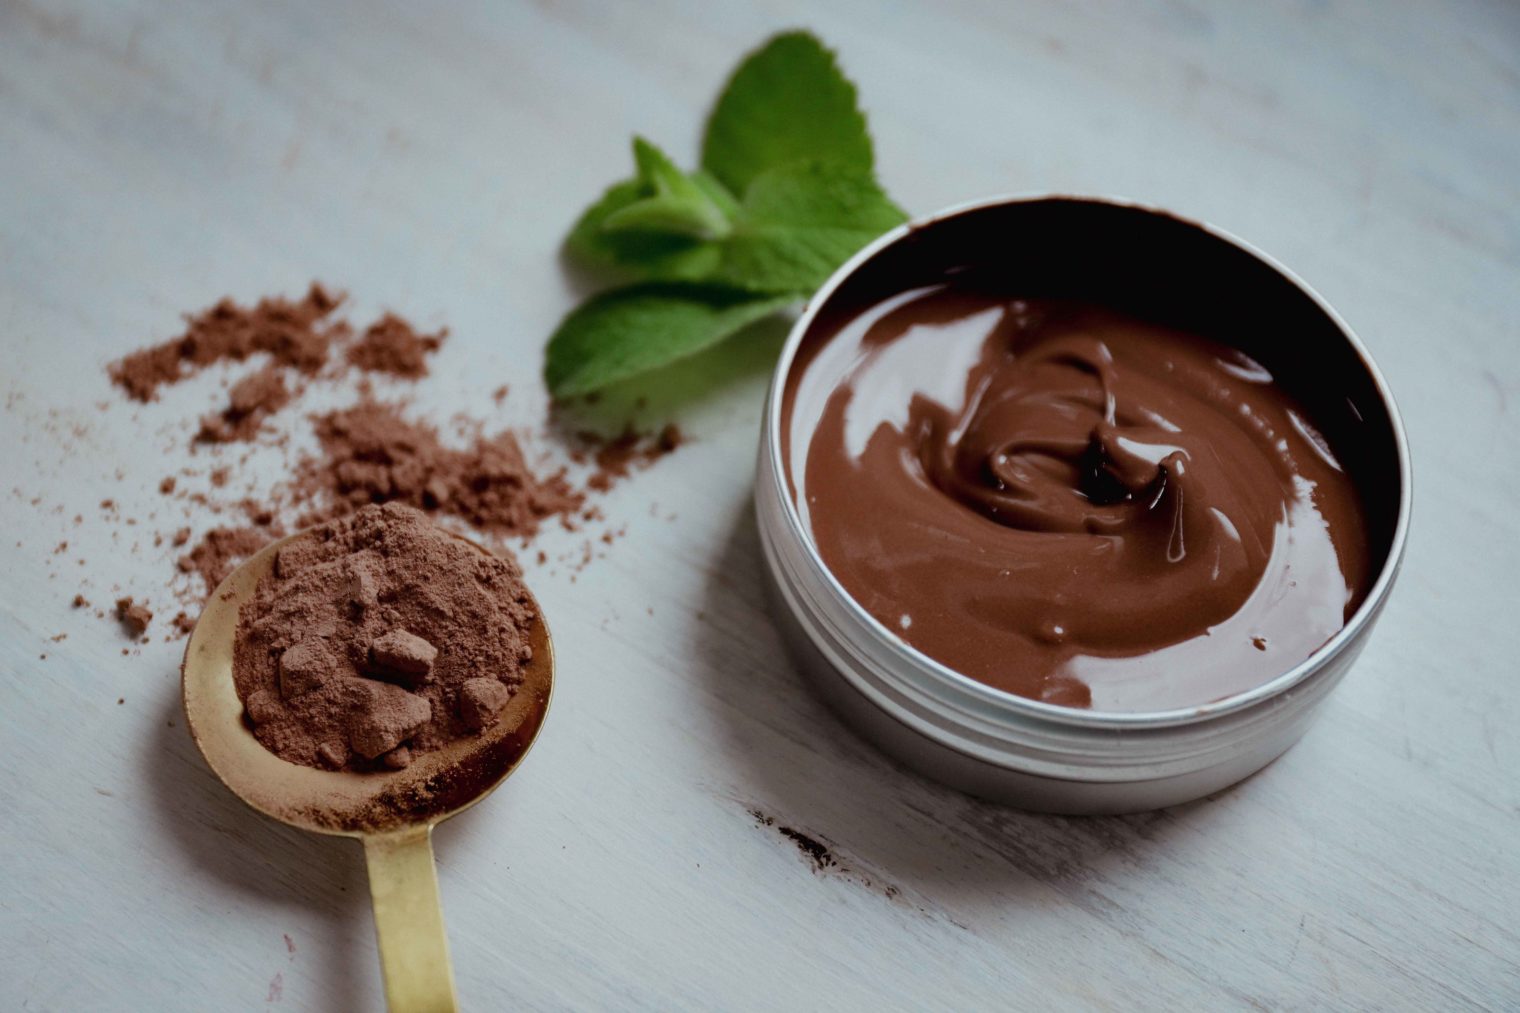
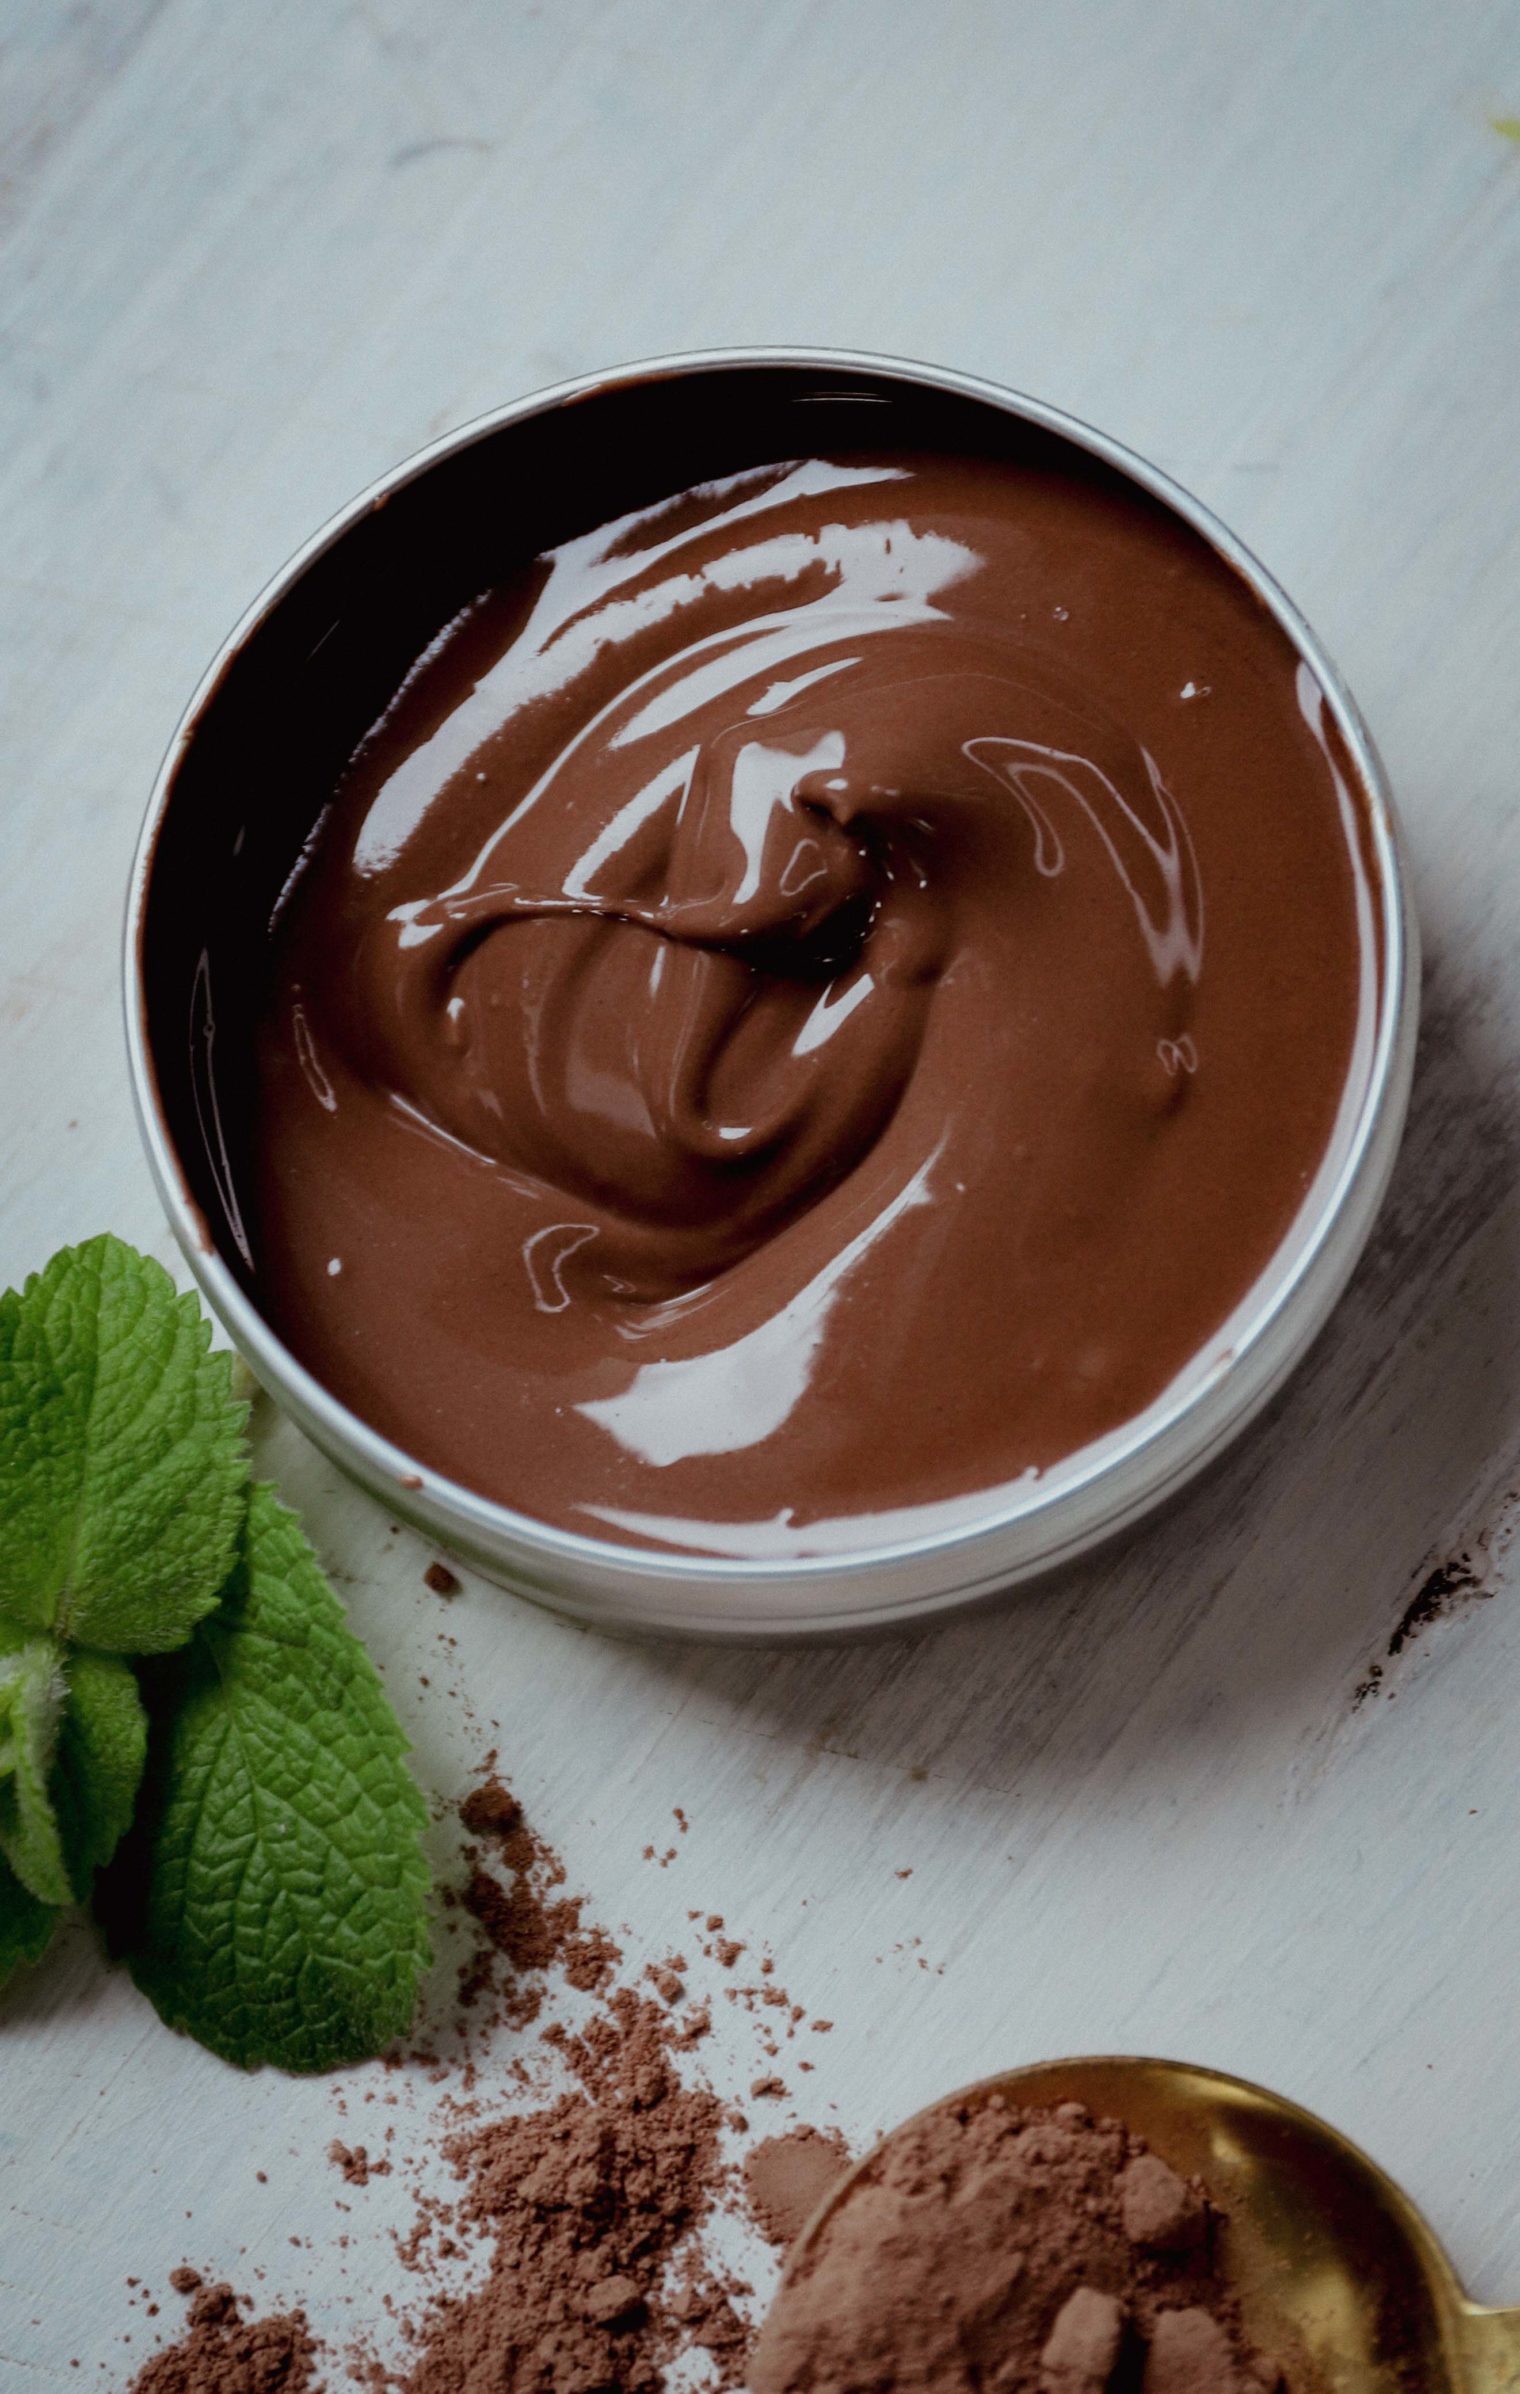
If you’re a fan of Lush, you probably already know they’ve made waves in the beauty industry by offering simple, effective products with minimal ingredients and short shelf lives. While it’s hard to call their products handmade in the traditional sense—given Lush is a large-scale operation with carefully calculated formulas and top-notch marketing—their approach still stands out among the sea of cosmetic brands.
One of their most beloved creations is the Glen Cocoa face mask, a rich, chocolate-scented treat for your skin. After receiving so many requests to break down the ingredients of Lush masks, I decided to dive into this popular one and even share a DIY version inspired by it.
So, let’s take a peek inside the Glen Cocoa mask and craft a similar product at home. Keep in mind, we’re not aiming for an exact replica, but rather a product inspired by this fan favorite.

What’s Inside Lush’s Glen Cocoa Mask?
Lush masks have a lot of admirers for good reason—they use nourishing, natural ingredients, and Glen Cocoa is no exception. Packed with indulgent ingredients like almond butter and cocoa powder, it’s designed to pamper your skin and give it a boost of moisture.
CHOCOLATE – GOOD OR BAD FOR YOUR SKIN?
Eating chocolate? Not the best for your skin 🙂 But cocoa powder in skincare? That’s a different story! It’s packed with antioxidants and works great in face masks. Cocoa powder helps improve blood circulation (giving your skin a healthy glow) and has some pretty strong anti-inflammatory properties, making it a great option for problem skin.
Just avoid using a chocolate bar for masks (too much sugar and additives), but pure cocoa powder? Go for it! It’s perfect for DIY masks and body wraps.

Creating a DIY Version: Our Glen Cocoa-Inspired Mask
For my DIY version, I’ve tweaked the formula a bit to make it more accessible and tailored to different skin types. Instead of almond butter, which can give the original product its slightly grainy texture, I’ve opted for shea butter. Shea butter provides a smoother, more luxurious feel and works wonders for those with dry skin.
- 13.8 g of water
- 40 g of glycerine
- 10 g of cocoa powder
- 30 g of kaoline clay
- 5 g of shea butter
- 1 g of essential oils blend (see below)
- 0.2 g of tocopherol (Vitamin E)
Melt shea butter in a water bath (don’t boil it – warm it a little to melt it; it should be lukewarm), mix in tocopherol and essential oils blend.
Combine cocoa powder, clay, and glycerine, and stir it to make a paste. Then slowly add water and finally mix in your oils. Stir well till homogenous and transfer to a clean jar with tight lid.
Keep in a fridge, and use within 3 to 6 weeks.
Essential Oil Blend for Oily Skin
I love using a blend of essential oils like lavender, cedar, chamomile, rosewood, tarragon, geranium, and ylang-ylang. These oils are great for oily skin, and when mixed with the scent of cocoa, they create a delicious floral-dessert aroma. I also talk about how to make balanced essential oil blends (for perfumes and skincare) in my “Intro to Natural Perfumery” course.
You can swap in other essential oils too—just check out their skincare benefits and any possible side effects, and experiment with your own blends.
Lavender, geranium, and chamomile are commonly used for oily skin (they help balance oil production and calm inflammation), but they can have a bit of a medicinal smell. That’s why I added tarragon and atlas cedar oils (which are also great for oily skin), along with a little rosewood oil. Not only does rosewood have therapeutic properties, but it also adds a lovely warm base note to the blend.
Want a lighter, fresher scent? You can reduce the amount of lavender and add some herb-floral or citrusy top notes. (We cover this in detail in the “Intro to Natural Perfumery” course.) Just make sure the citrus oils you use are furocoumarin-free!
Recipe for Oily Skin Blend:
- Tarragon (Artemisia dracunculus) – 5%
- Lavender (Lavandula Officinalis) – 45%
- Atlas Cedar (Cedrus deodara) – 15%
- Ylang-Ylang (Cananga odorata) – 15%
- Geranium (Pelargonium Graveolens) – 10%
- Roman Chamomile (Anthemis nobilis) – 3%
- Rosewood (Dalbergia decipularis) – 7%
I usually make 15 grams of this blend and store it in a dark glass dropper bottle. Let it sit for about a week to let the oils fully combine before using it. The blend will last for around a year, depending on the oils.
You can use this mix in any of your DIY skincare products for oily skin. Just add 3-5 drops to your homemade face masks, serums, gels, creams, cleansers, or even mix it with clay and honey for a face wash.
Remember, essential oils can have side effects and may cause allergic reactions. Always do a patch test if you’re sensitive to allergens.

This mask feels so good on the skin—super relaxing and a real skin treat! This recipe is definitely staying in my go-to list. Try it out and let me know how it works for you!
